Prerequisites
- Instantly Outreach Hypergrowth Plan
- Google Workspace inboxes created
- SPF, DKIM, DMARC configured (see Step 1 — Email setup)
Connect each inbox in Instantly
- Open Instantly Accounts.
- Click Add New.
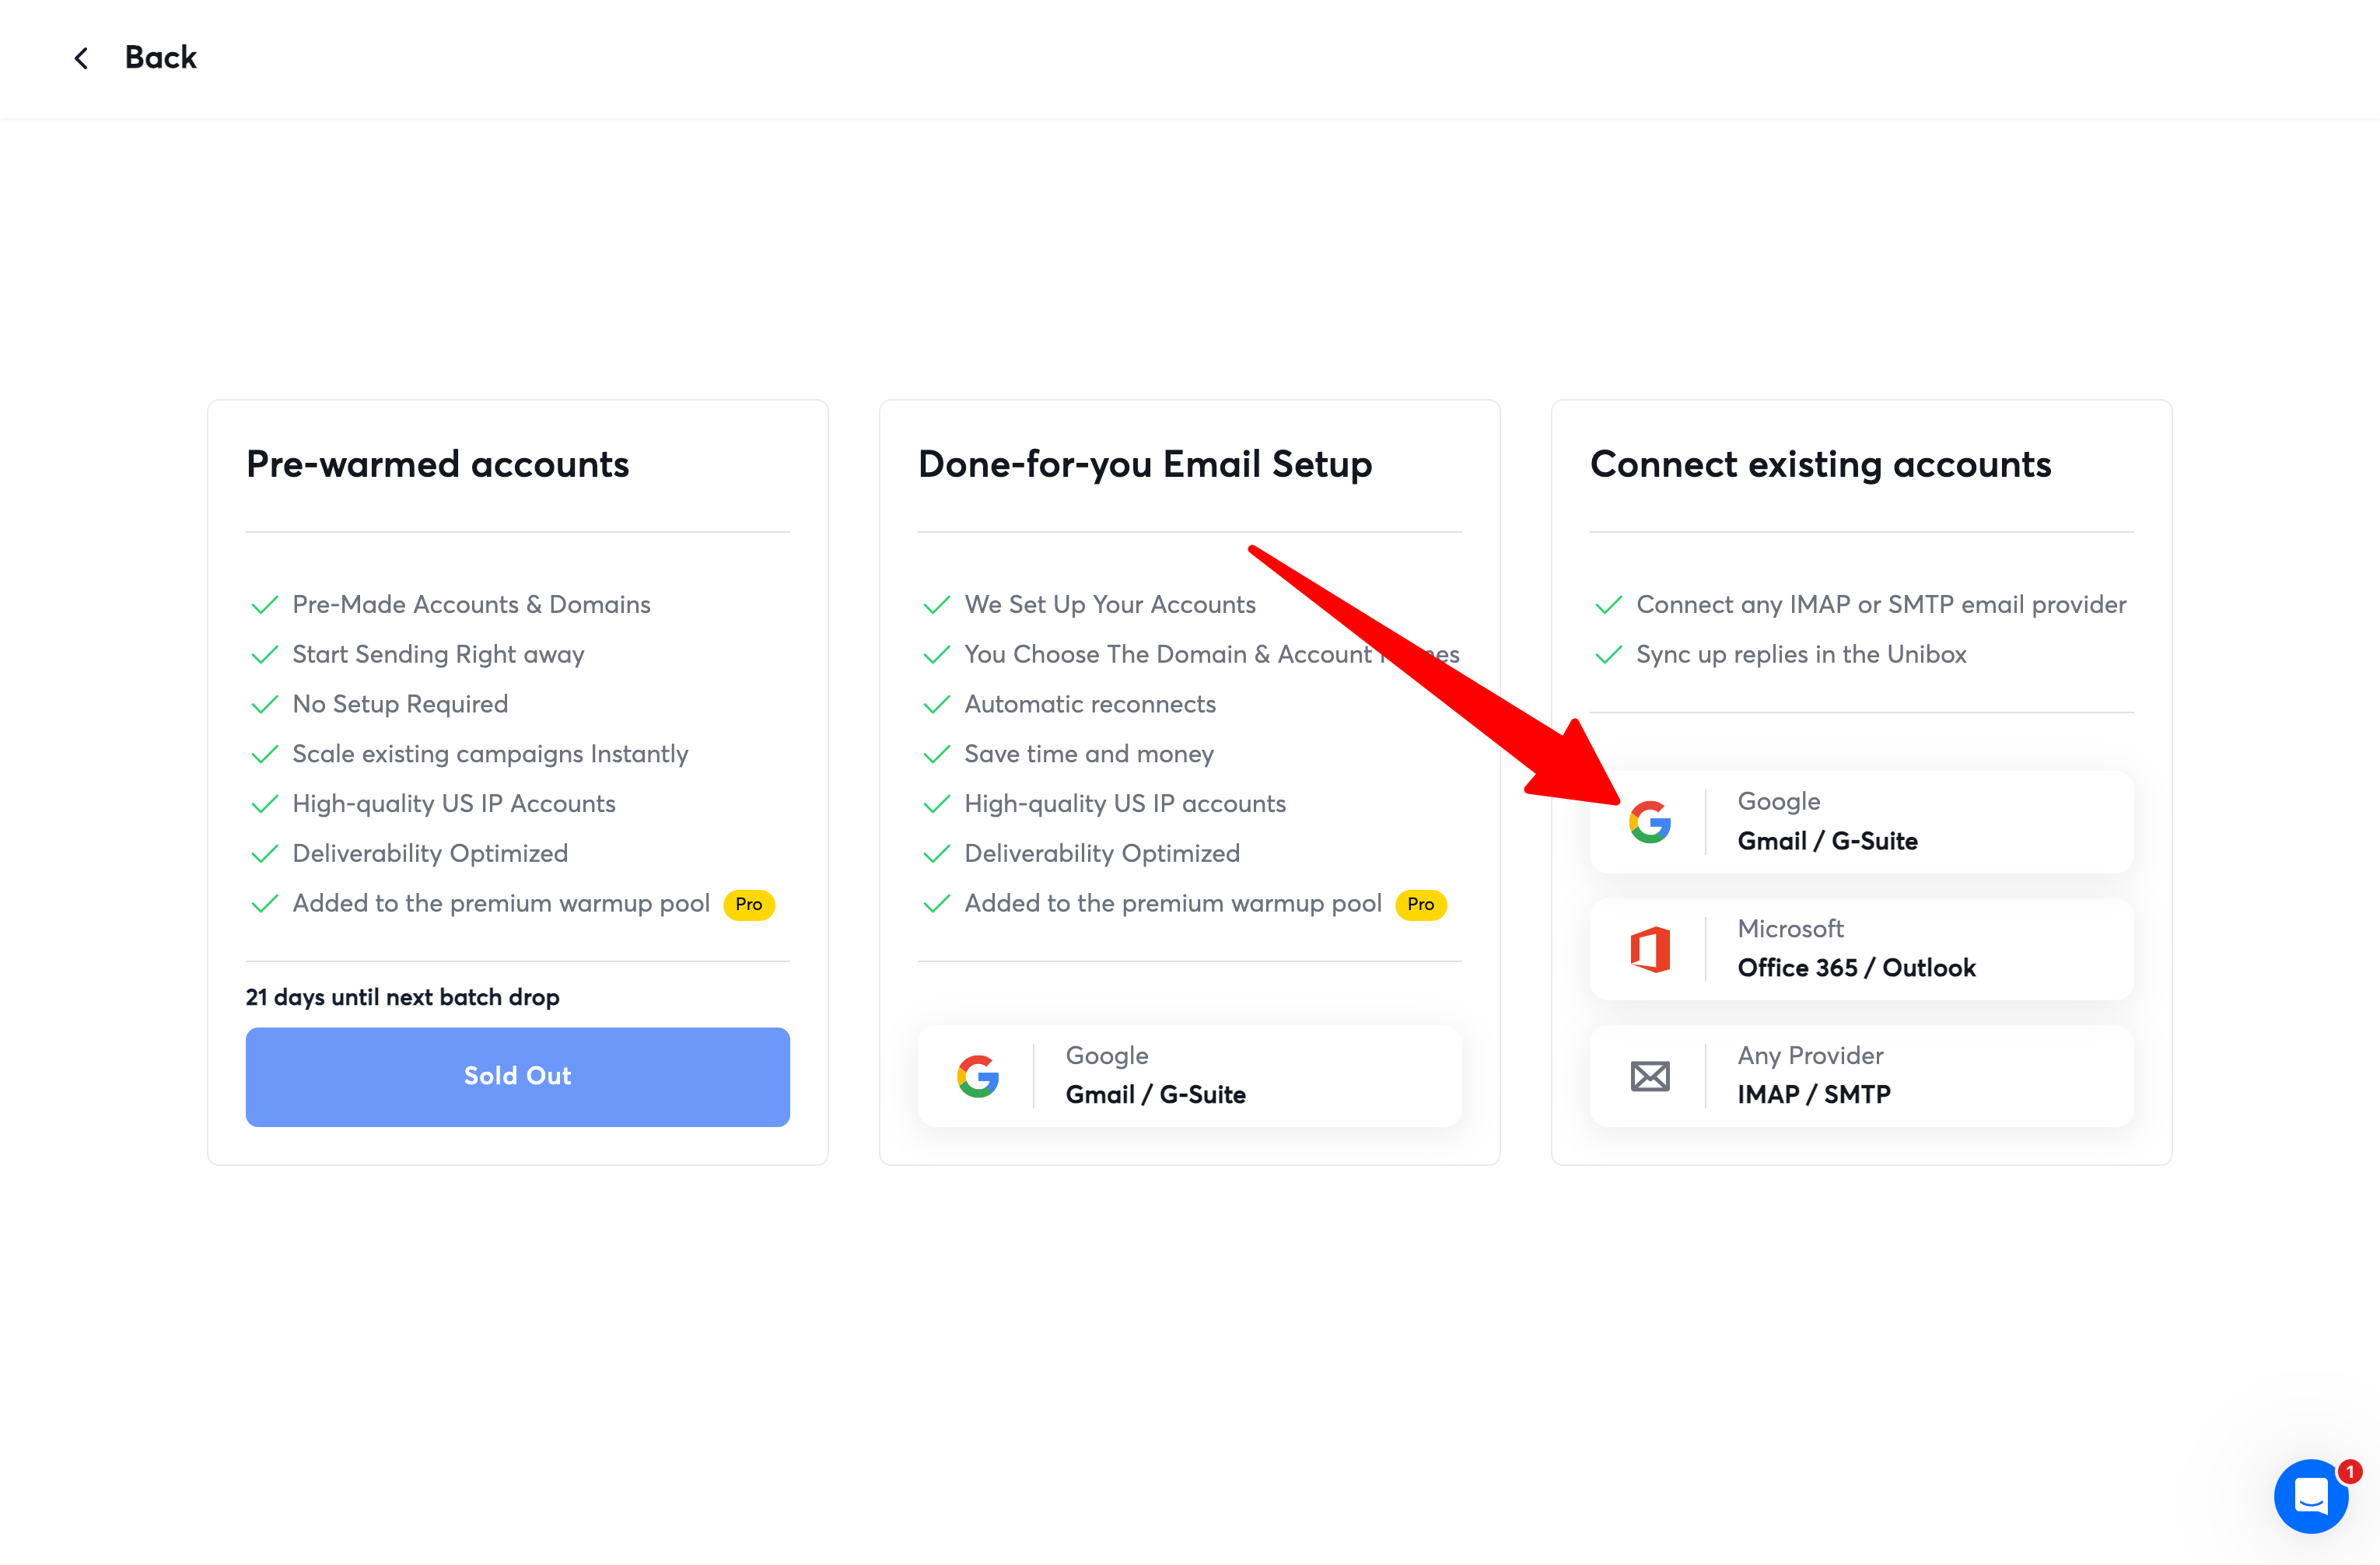
- Under Connect existing accounts, choose Google authentication.
- Select Option 1 — OAuth.
- Configure new app — follow the steps (once per domain).
- Connect every inbox and complete authentication.
Start warmup and set account defaults
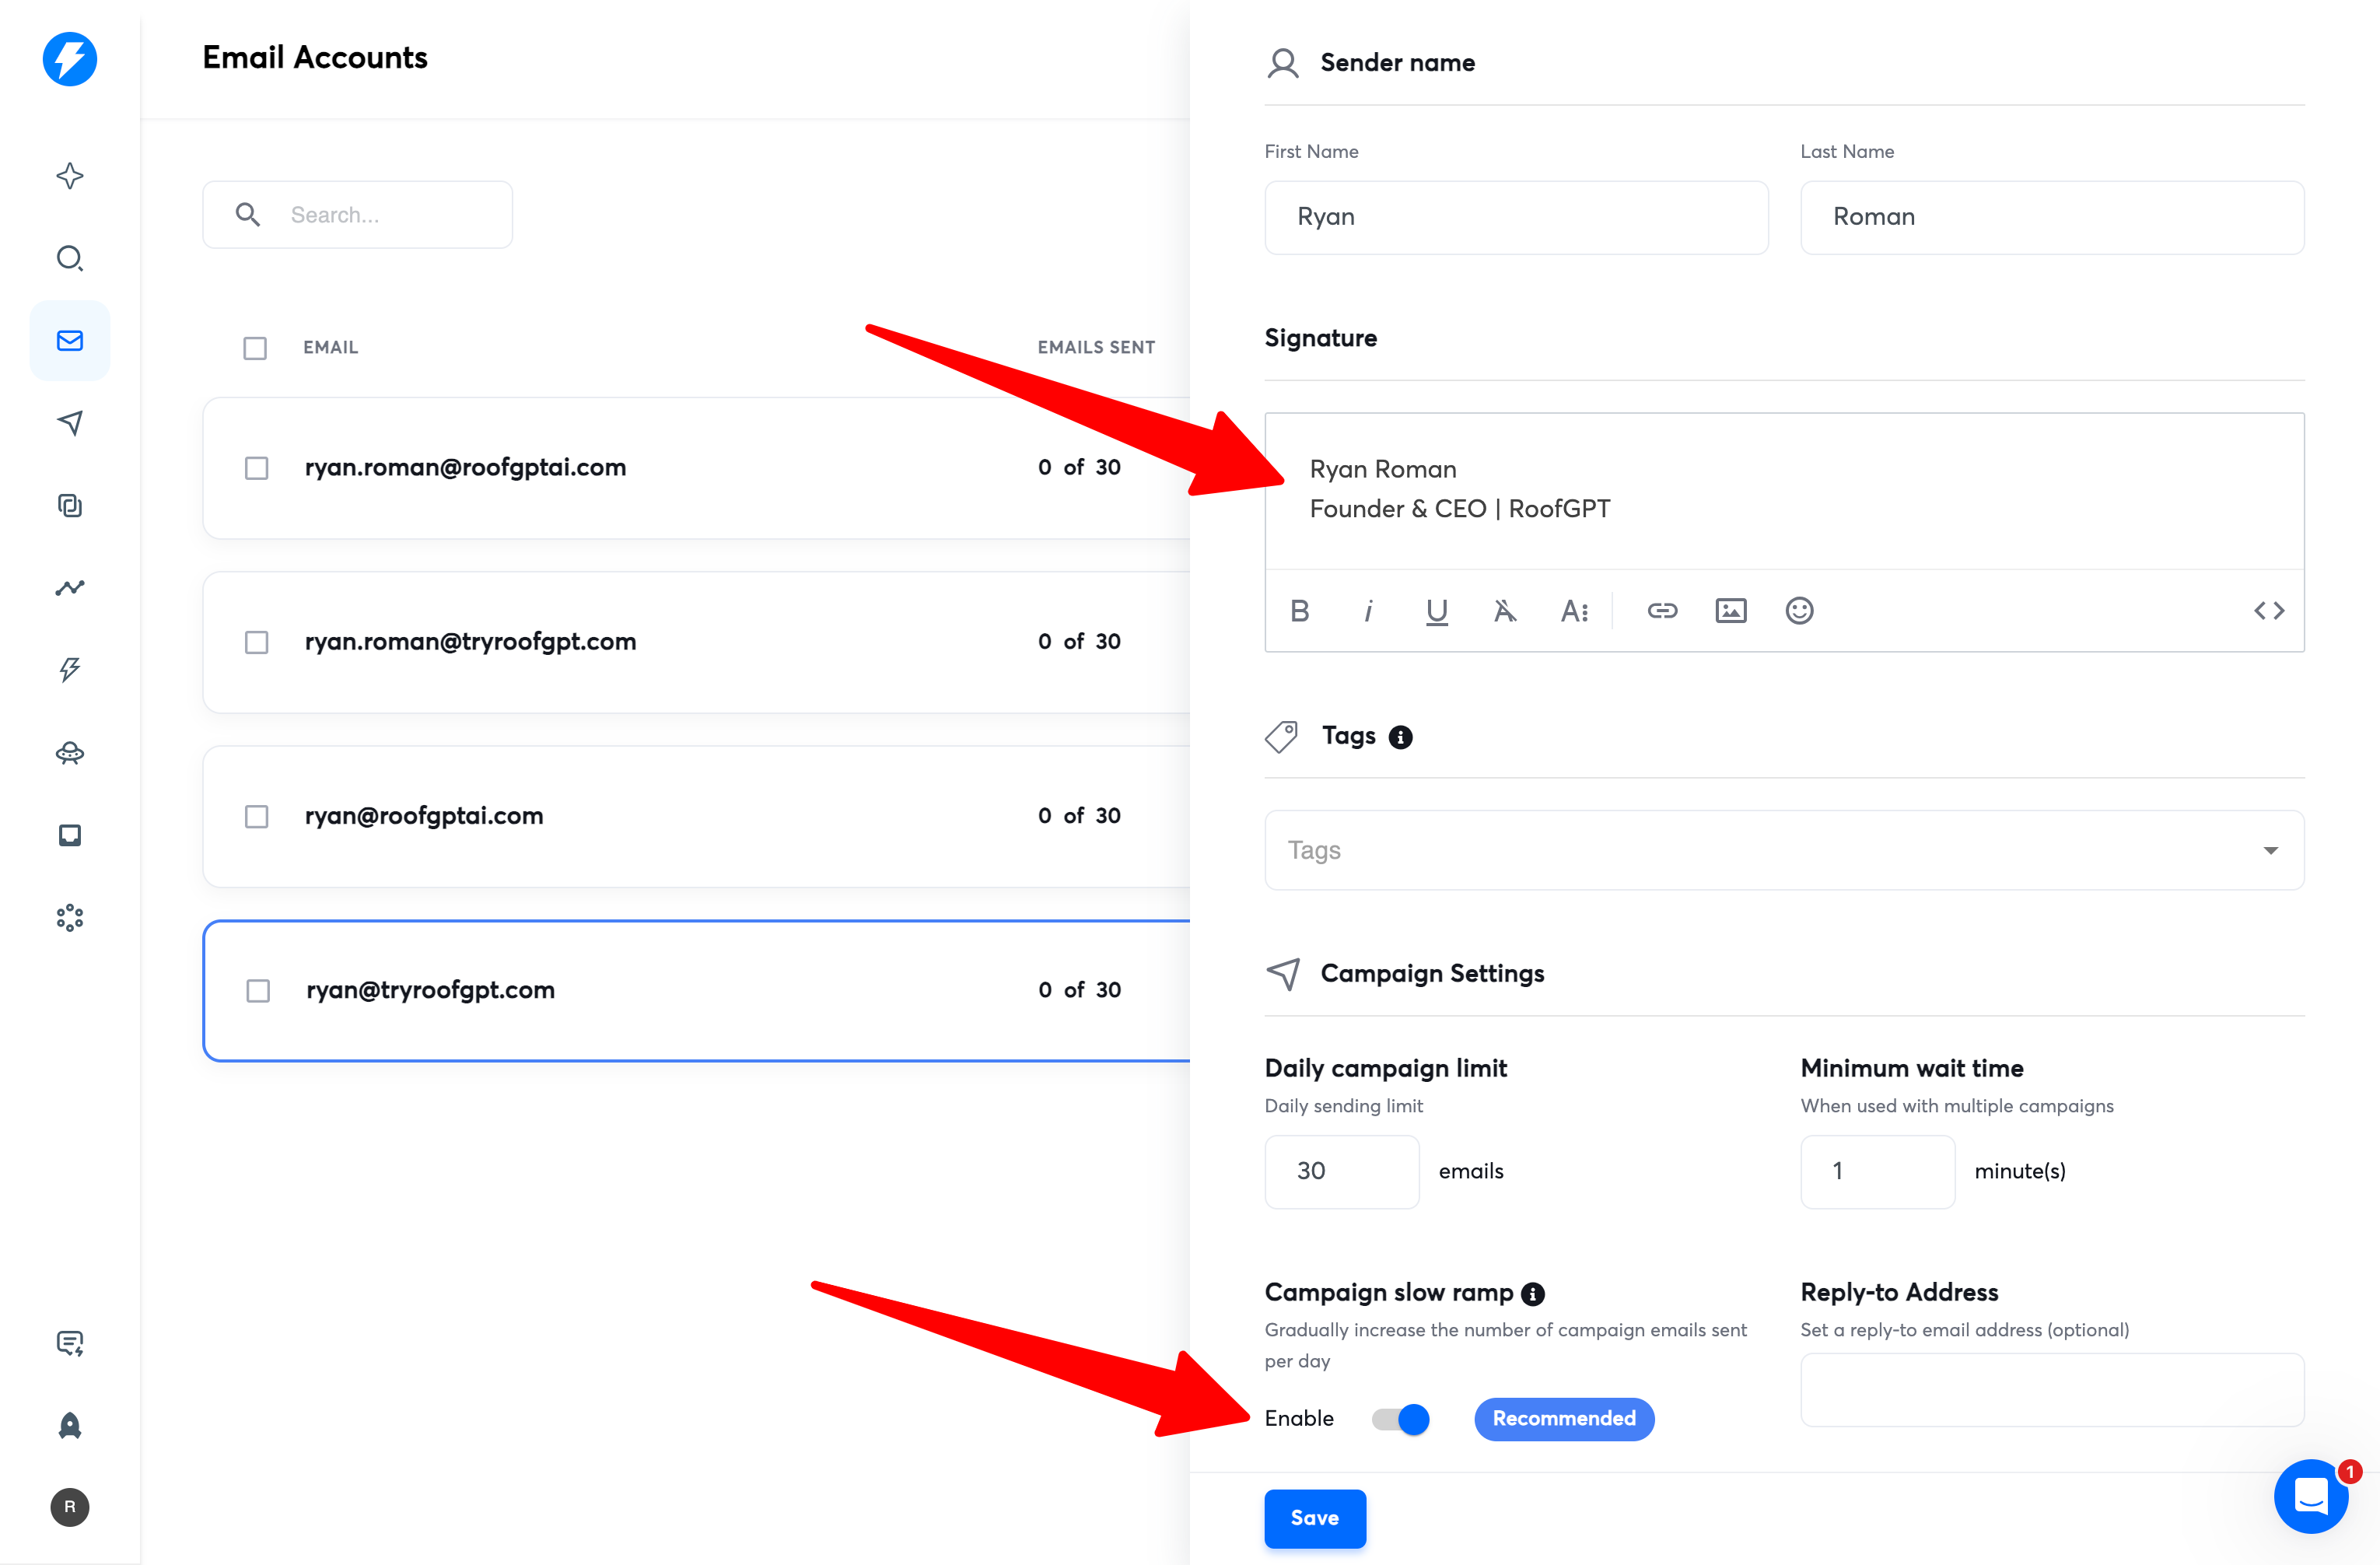
- Set your email signature for each account.
- Enable Campaign slow ramp.
- Leave all other settings at their default values.
- Enable inbox warmup for each connected account.
Warm for 3–4 weeks to build domain reputation so emails avoid spam.
Create your first campaign
- Go to Instantly Campaigns and click Add New.
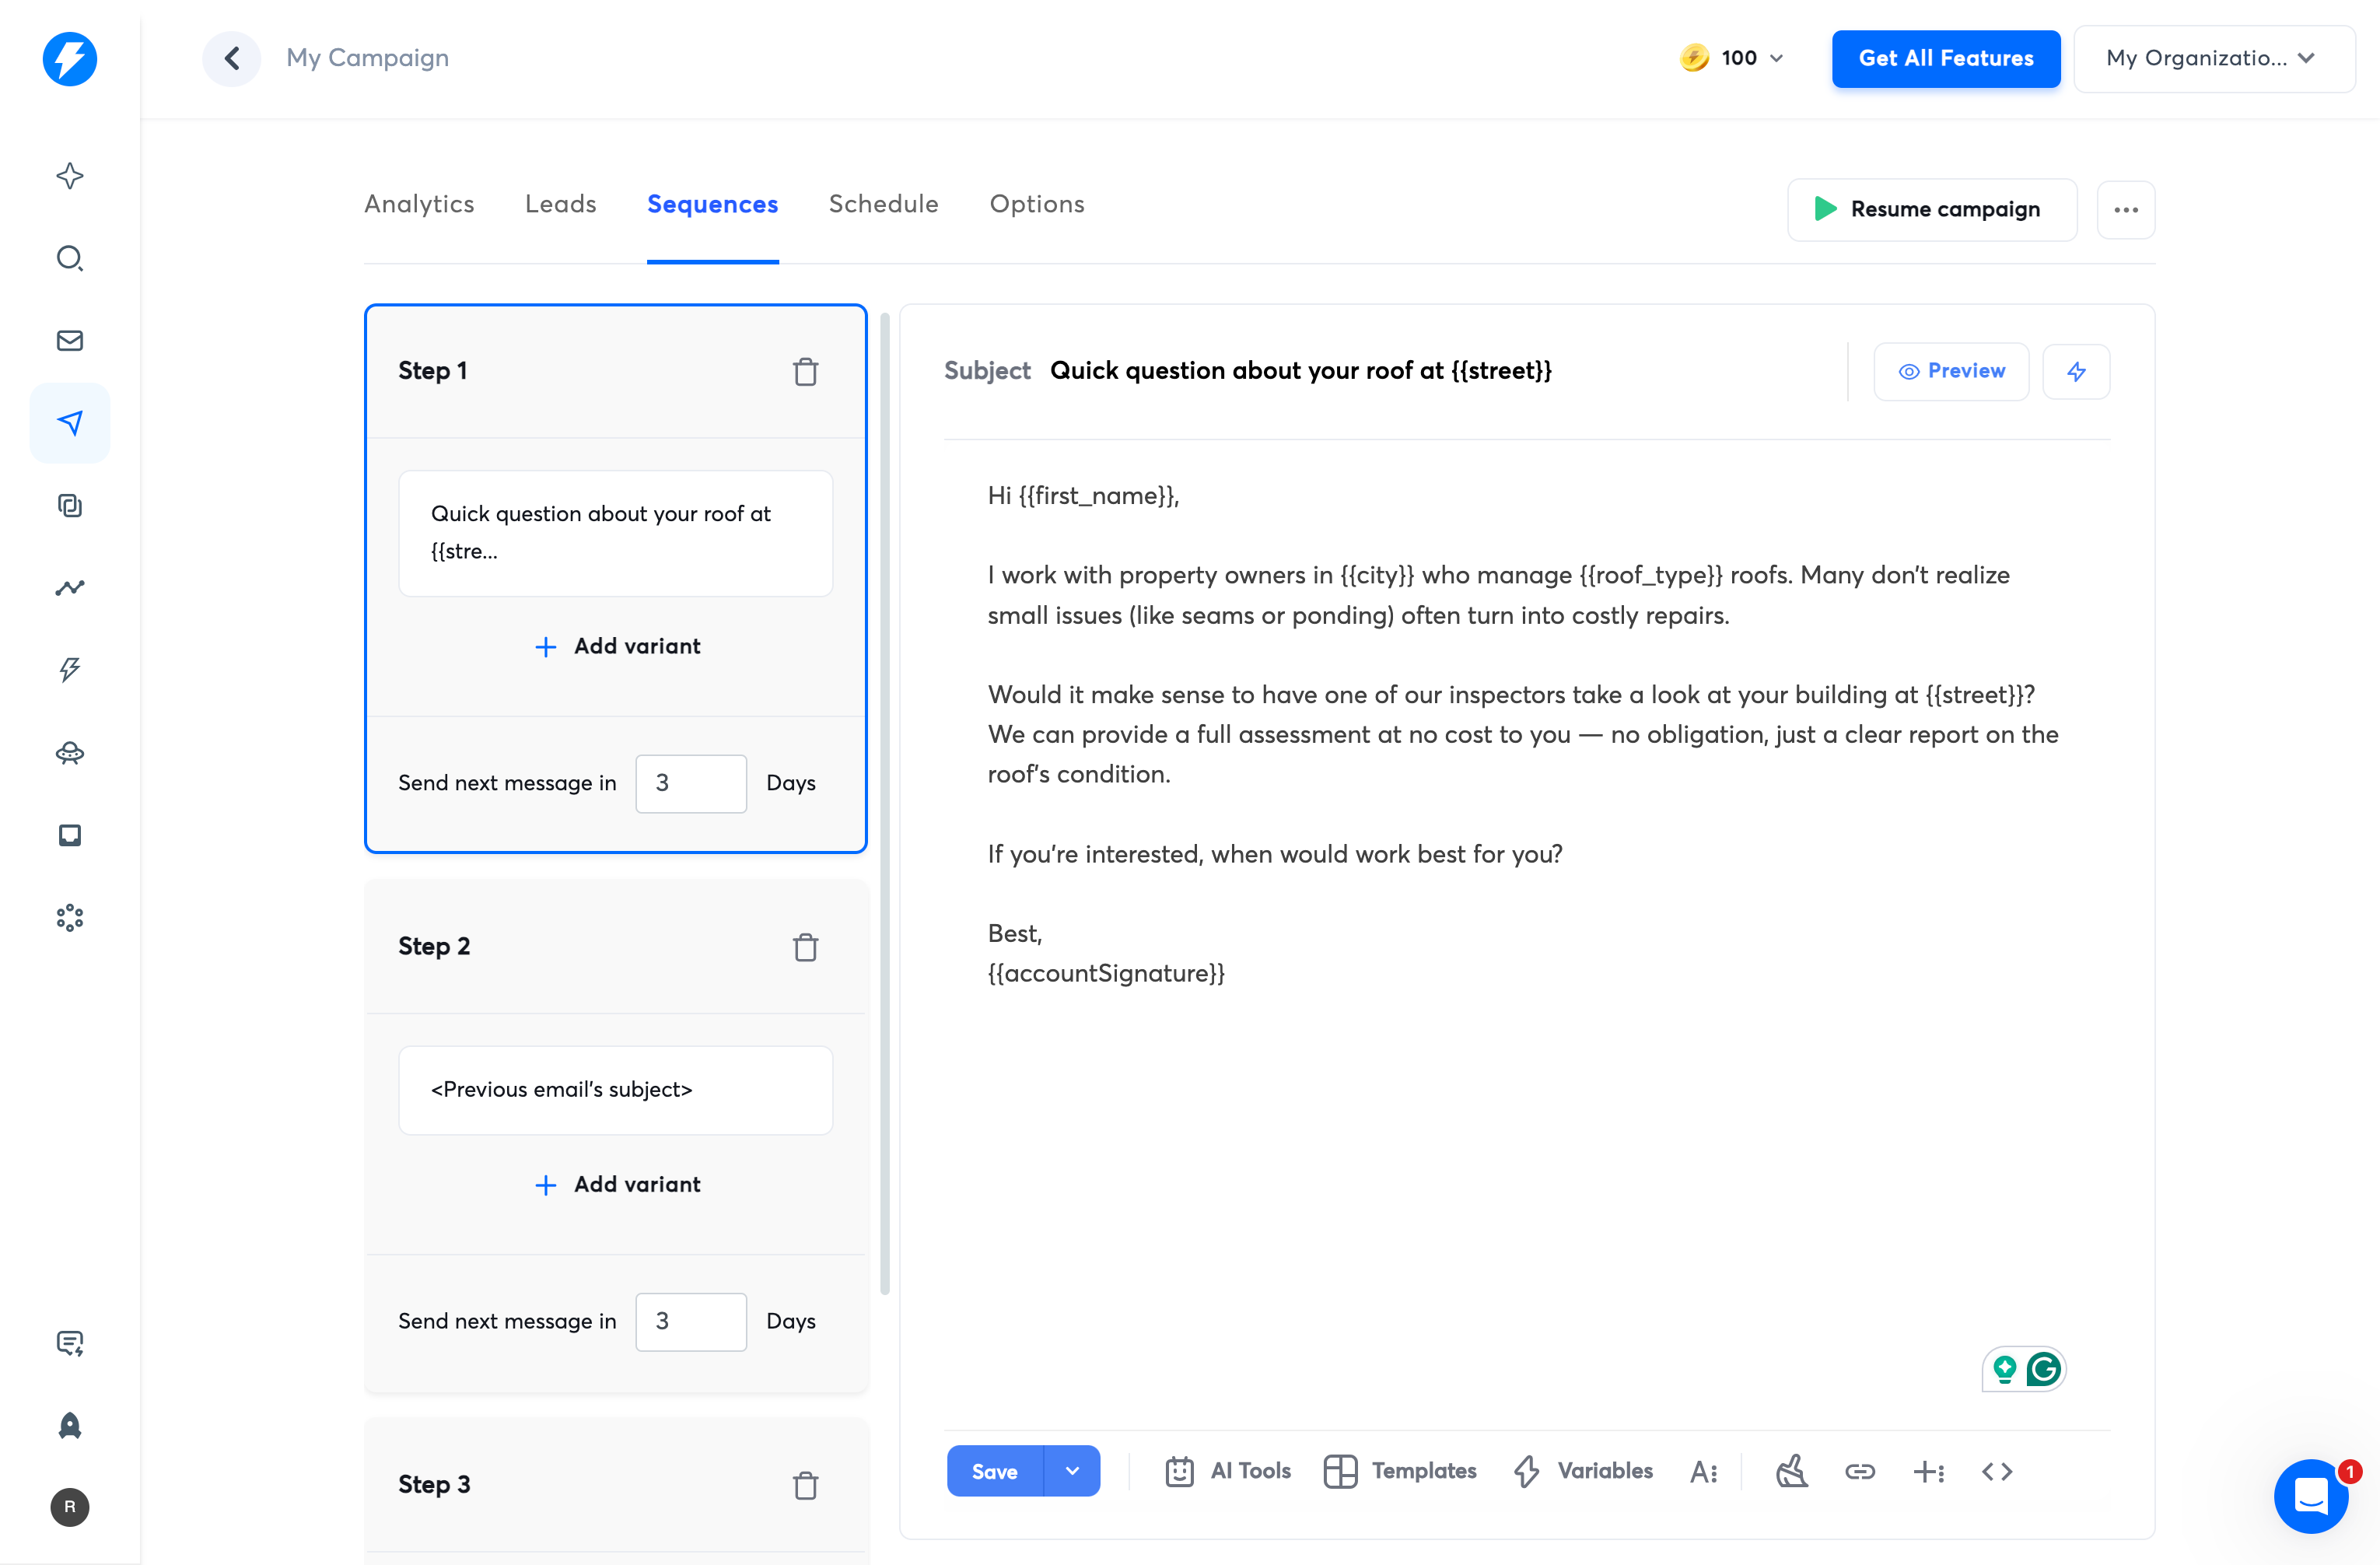
- Open the Sequences tab and build your sequence (recommend at least 4 emails).
- Set Send next message in to 3 days for proper spacing between touches.
- Add variant to A/B test subject lines and body copy.